Saturday, December 31, 2011

New Year's Resolutions

1) Don't cut my own hair.

2) Lose 30 pounds

3) Talk to at least one person other than the sales clerk when I go to the grocery store.

4) Eat more fruit.

5) Hammer more.

6) Walk more.

7) Start doing yoga again.

8) Take more pictures.

9) Mind my own business.

10) Be kinder.

Thursday, December 29, 2011

Saturday, October 29, 2011

Computer Keyboard Autopsy

Ever wondered what the inside of a keyboard looks like?  I took this old broken one apart to see if there were parts I could scavenge for art projects...

Took out the Phillips head screws and removed the bottom cover.

This little circuit board attaches to the big plastic circuits under each keypad.  Looks to be machine soldered. 


Couple of capacitors and resistors on the board.  We'll want to remove the capacitors before using for anything else. 
This plastic layered circuit is printed by machine on plastic.  Two layers of circuits are separated by another thin plastic layer.

Then there is a funky little rubber membrane that goes in underneath each key.  So if you spill coffee, you probably won't kill your keyboard right away.


And we get down to the keys.  They snap in from the front and have two little snap hooks to hold each one in place.  A pair of needle nose pliers will snap them out.

And there's a key.  We'll see what sort of stuff I can use this for. 

Monday, October 10, 2011

Alternate Use for I-rock Bling Pad as a Gel Mono Print Plate

Gelli Arts has introduced a new "gel" monoprint plate.   I bought one and have been trying unsuccessfully to get some to sell in our ebay store.  They're going like hotcakes, apparently, and the company's not that interested in selling to me.

You can see the Gelli Arts on  their web site.


When Imaginsce's new little GEL bling pad arrived in stock, I connected the dots and said, "Wow, I bet this would do some cool monoprints!"  And it does! 


See the pictures--I squirted some acrylic paint on, rolled it with a brayer, textured it with bubble wrap and a squeegee and pressed cardstock to it.  It works perfectly, just like the Gelli Art gel plate. (Those are 6" x 6" for $19.99 and 8" x 10" for $29.99).  

You have to wash off the paint right after you're done using.  And you don't want to texture with sharp objects--that'll scratch it.  Inks will change the gel's color, so if you use them, be warned about that. 

Differences:  The Gelli Art plate is 1/2" (12mm) thick while the bling pad is only 1/8" thick (3.175mm)--so it will tear if you treat it roughly.  The Bling pad also has the Imaginisce logo impressed on the front.  So...I just used the back.  The bling pad's way cheaper at $5.99 if you want to try gel monoprinting without making your own plates.


Wednesday, September 28, 2011

Knit a Scarf with Red Heart Sashay Net Yarn


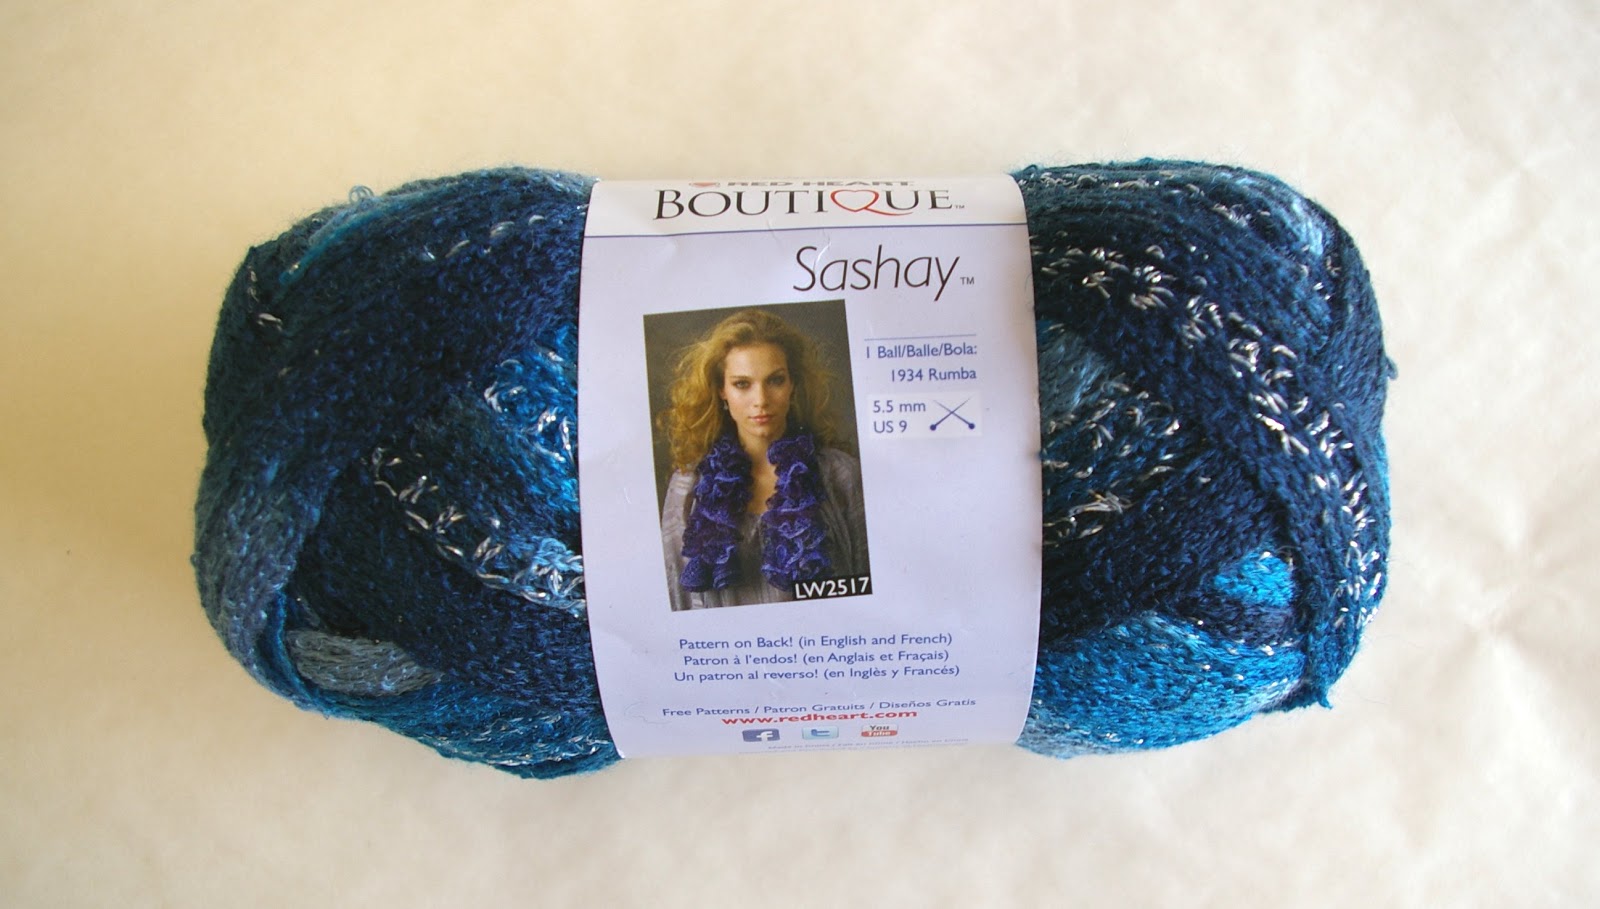
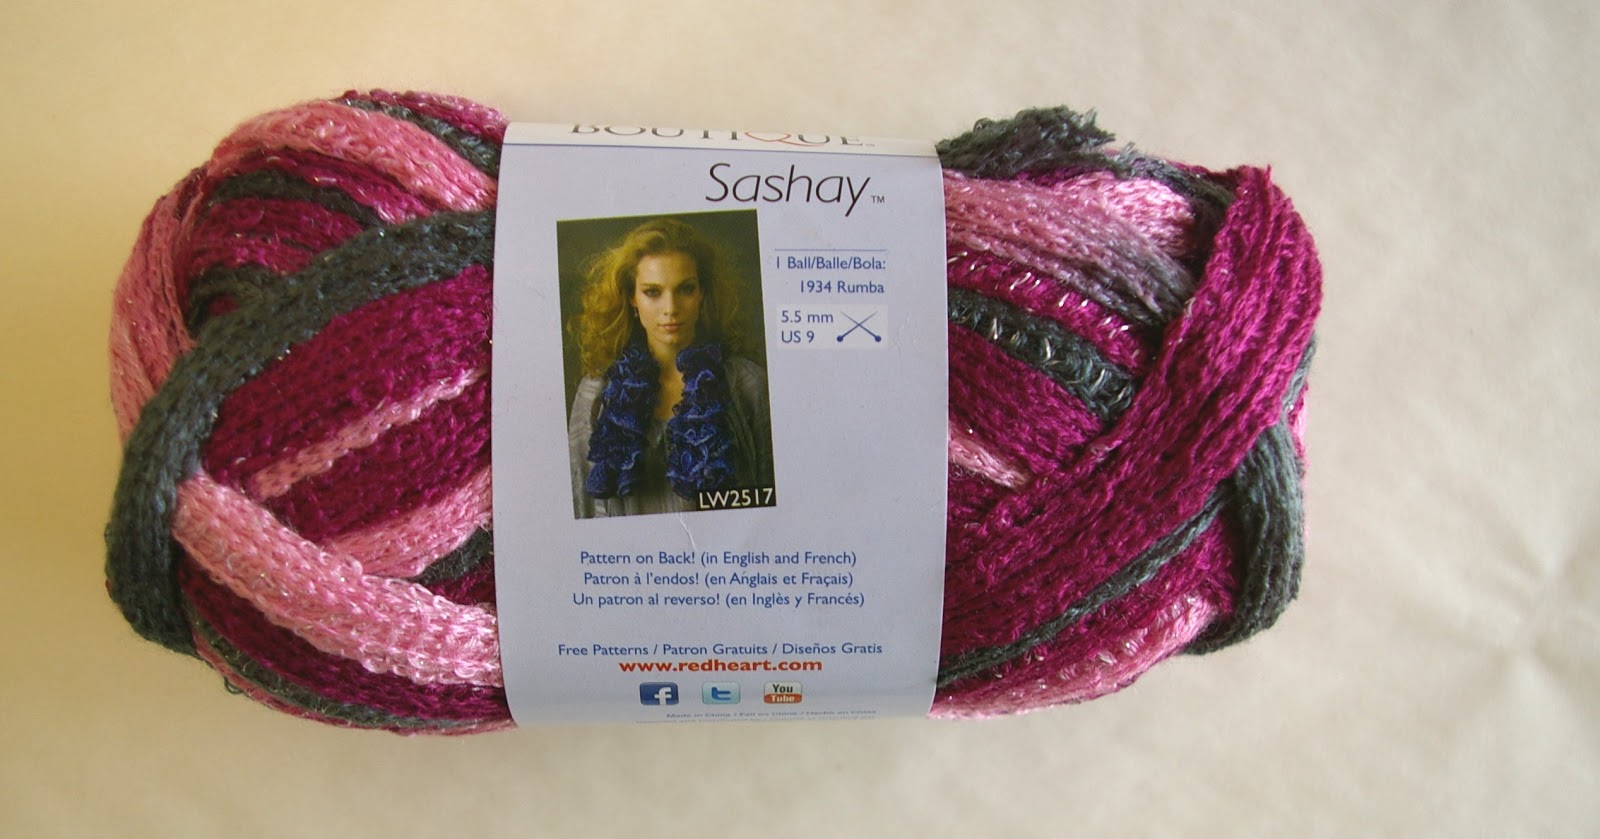
Red Heart's Sashay Yarn is a very quick and easy way to make stunning scarves--a couple hours of knitting and a $5 ball of yarn and you have a great present for a friend..or yourself.

Sashay yarn is a very smooth acrylic mesh.  The frilly scarf pattern is VERY easy, once you grasp the idea of how to knit with the mesh yarn.    There are YouTube videos showing how on the Red Heart website. 

But for anyone who doesn't download videos:
 
Choose a width--anywhere between 5 and 10 stitches is best, depending on how long and wide you want your scarf.  

Cast on your stitches.  It's just like you would regularly cast on,  except that you DON'T "throw" the whole yarn over your needle...just the first few strings of the net.  And it's garter stitch back and forth, again only "throwing" the first few strings.  Easy peasy.


Just knit back and forth (knitting only the first few strings of the yarn) until you have 1 yard left for binding off.  They recommend either 6 stitches or 10--I'm using 6 in my demo picture.  They recommend size 9 needles.  The video uses aluminum needles.  I tried it with aluminum and it was VERY slippery, so I'm using Lion brand size 15 plastic that I had on hand instead.  I have used size 13 aluminum needles, and that was much easier than the 9's.

Helpful Hint:  When you're turning at the end of each row, alternate which way you turn.  Clockwise, then counterclockwise...that way the yarn will not twist.  In most yarns, it doesn't matter too much, but it will with this net yarn.  If you don't twist it...then you won't have to UNTWIST it.


Gauge isn't important in this pattern, so it shouldn't make a big difference.  And I'm terrible about following patterns.

**Sigh.** You might as well buy extra, if you're buying one to make a scarf.  If someone sees it, they are gonna want one too.  I made one for my cousin Judy, and now have an assignment for six more.  Good thing they're quick.

Note that occasionally a skein will have a yarn end knot in it.  If the knot is big, untie & retie it, or cut it and weave it in.  You will not notice it after you're finished with the scarf.

Monday, July 18, 2011

What book should I buy to learn entrelac knitting?

There are three main books available to learn entrelac knitting.  One of the books, "Enjoy Entrelac Knitting" (copyright 1993) is out of print and available for between $45 (used) and $208 (new) online.  I'll not include it in this analysis, although it does look like a fine book to learn entrelac knitting.

I would recommend BOTH of these two books as very good books, but let's talk about them.  They're both in print  and readily available.

First, "Entrelac:  The  Essential Guide to Interlace Knitting" by Rosemary Drysdale. Retail: $24.95, Sixth & Spring Books, Hardcover, copyright 2010, 160 pages.


Benefit for the Beginner knitter: This book has detailed pictures showing how to knit the basic entrelac pieces.

A lot of the time involved in entrelac is, according to both book authors, wasted in repeated turning of the fabric as it is knit, so they show you how to knit backwards, with detailed instructions and pictures.  If you're not interested in freaking yourself out by trying to learn entrelac AT THE SAME TIME as trying to learn to knit backwards, feel free to take one thing at a time.  I did, and haven't tackled the knitting backwards thing yet.  The important concept that most authors seem to neglect is explaining the concept of "turn."  You'll see it in all entrelac patterns.  I freaked out, and thought "Geez, I haven't seen this stitch before, which way to turn, what's it mean?"


Actually, it just really means:  TURN.  Turn the knitting around and go the other way. 

There are 25 project patterns in Drysdale's book, most using a variation of the relatively easy stockinette entrelac, often with a special stitch from the included dictionary of more than 65 knitting stitch patterns.

Online reviews of this book are all 4 and 5 star, with one 3 star exception that takes entrelac knitting itself to task rather than the author or the book.

The second book is "Entree to Entrelac Knitting" by Gwen Bortner.  From XRX Books, retail $19.95, copyright 2010.  Softcover, 160 pages.


This is the book that, leafing through, made me want to learn entrelac knitting.   Gwen Bortner is a big fan of entrelac, and definitely an expert.  She has a lot of enthusiasm for entrelac knitting, and conveys  much information in this book.  It's a very informative book with beautiful patterns. 

Bortner's book has a more holistic, mathematical approach.  That means if you just skim it you may be intimidated.  Pictures and instructions are detailed and well done.  As the book progresses, the patterns get more difficult.  So again, if you're skimming or looking for a first entrelac project, some of the latter patterns may intimidate.  Don't lose heart if you choose this one.

One reviewer likes the way Bortner takes the drape and swing of entrelac patterns into account in the clothing designs.  If you're an an advanced knitter and enjoy math and puzzles, you may very well love Bortner's book.  

Online book reviews indicate that some people LOVE this book and some people HATE it...so you would probably benefit from reading the reviews to see if it fits your learning style.  You know where they would be, the big online bookstore.

One last thought:  if you want to give entrelac knitting a try before committing yourself to a $20 purchase for a book, do a search for "free entrelac scarf pattern."  You should see the one from Lion Brand.   You'll need to register with them and log in, but it's a marvelous source of free patterns.   I learned entrelac from this pattern.  Do a few sets of squares and entrelac really does become second nature And then either one of these books will take you to the next level.

Friday, July 15, 2011

An Experiment Making Lavender Vodka

 I decided to experiment with making lavender vodka.  Here's how this came about:  I found some food grade lavender oil on ebay from Faerie's Finest, a cool company that sells teas, herbs, spices and oils.

Had this stuff sitting on my desk at work--to do some cleaning--someday--and out of the corner of my eye it looked like Gatorade G2 grape, but smelled like lavender.  You don't want to drink this.  But I reached for it several times thinking it was G2.  But it spawned the idea of drinking something lavender.


A friend of a friend made some sort of Cherry Liqueur from tart cherries, vodka and sugar.  Then let it sit for a month or so, and voila, Cherry Bounce.  I could never remember the name, though, so I called it Cherry Bop (probably a Little Bunny Foo Foo short circuit in my brain.) 

Found this in an antique shop...

My brother Tony says "they" ran a taste test and the cheapest vodka available, run through coffee filters, will beat expensive vodka.  And I didn't want to waste good vodka if it didn't work out. 
1/2 cup of raw sugar, 1 oz food grade lavender and five coffee filters.

Cheapest vodka I could find, about $8 a fifth at the Hy-Vee.

The jar is washed out well.  Okay, maybe not that well, but I figure the alcohol will kill bacteria.  Five filters installed.

Otie wants to help, but doesn't get too close.

Dripping, dripping, dripping.


1/2 cup raw sugar (and yes that is a plastic cat food bowl)

Raw sugar is added.

You'd think coffee filters saturated with alcohol would burn really well...

The lavender oil is added, clouding it up.  Now I just need to shake it every few days to dissolve the sugar.
And those stupid filters didn't burn well at all.  Dang cheap vodka.  Had to wait until they dried out before they'd burn in our charcoal grill.
Here's the end product...It's mostly clear, a little cloudy from the lavender oil, and isn't really as yellow as it looks in this picture.  I was a bit worried shaking it every day...the little bits of oil collected together at the top...it almost looked like mold growing, and I wondered if there would be poisoning involved.  But it is just fine.  (Won't guarantee yours, though, if you try this at home...)


Taste tests:
#1: Took about half a shot on an empty stomach.  Bad idea.  If you associate lavender with soap, it may taste soapy to you.  But it actually reminded me of some Franciscan made Amaro liqueur, sort of an herbal disgestif (or bitters) that I had in Italy. Probably better as an after dinner drink.


#2:  I made a small sample of butter cream frosting (okay, about a cup) and added 2 tablespoons of lavender vodka to it, on the theory that VANILLA is just vanilla bean and alcohol, so lavender vodka would be the lavender equivalent of vanilla.  The frosting is a bit strongly flavored...would try about a teaspoon, and then add more lavender to taste.  The first frosting taste is a bit reminiscent of soap, but the second, third, etcetera is really good.  Now if I only had some cookies to frost.  Bad idea to sit and eat a cup of frosting by itself.


(1/2 c confectioners sugar, 2-3 Tablespoons butter, Lavender vodka, dabs of water until it reaches the consistency you want)

Here's a link to a recipe for Lavender Honey Ice Cream 

Friday, July 8, 2011

Experimenting with Golden Artist Medium Coarse Pumice Gel

I'm experimenting with covering some small canvases with acrylic paint and Golden Artist medium coarse pumice gel.  It's intended as a mix with acrylic paint to provide texture.   This is a 2 oz jar, part of a sampler set of six kinds of "mediums" from Golden Artist. 
 

Here's what it looks like in the jar.

Scooping some up, mixing with acrylic paint.  I'm going for a red brick stucco effect.

Mixing it in.

Still a little thin, so I'm adding another scoop.

This is the consistency I'm looking for.  Thick, yet deliciously goopy.

Have WAAAY more paint & gel than I need, so I do a second canvas too.

Here's what it looks like when it's dry.

A close up of the dry canvas.